When Good Banana Bread Goes Bad: Understanding Why It Collapses
There’s nothing quite like the aroma of fresh banana bread wafting through your kitchen. But that moment of anticipation can quickly turn to disappointment when you discover your beautiful loaf has collapsed in the center. If you’ve ever pulled what seemed like the perfect banana bread from the oven only to watch it sink before your eyes, I feel your pain—and I’m here to help.

As someone who’s baked (and failed at) hundreds of loaves over the years, I’ve learned that preventing the dreaded “banana bread canyon” comes down to understanding a few key principles. Let’s explore why banana bread collapses and how you can avoid this common baking heartbreak.
The Science Behind Your Sunken Loaf
Before diving into solutions, it helps to understand what’s actually happening inside your bread. Baking isn’t just cooking—it’s chemistry.
When you mix your batter and place it in the oven, several critical reactions occur simultaneously:
- Leavening agents (baking soda or powder) release carbon dioxide bubbles that expand in the heat, causing the bread to rise
- Proteins in eggs and flour form a structure that traps these gases
- Moisture from bananas and fats creates steam that contributes to the rise while keeping the bread tender
Your bread collapses when this delicate balance gets disrupted. Sometimes the bread rises beautifully in the oven but doesn’t have enough structural support to maintain that height as it cools. It’s like building a house with a weak foundation—eventually, something’s going to give.
Why Your Banana Bread Is Throwing in the Towel
1. Your Measurements Are Off
I learned this lesson the hard way: baking is not the place for “eyeballing” ingredients. Even small measurement errors can doom your bread from the start.

- Too much flour? You’ll end up with a dense, dry loaf
- Too much liquid? Your bread won’t have enough structure to hold its shape
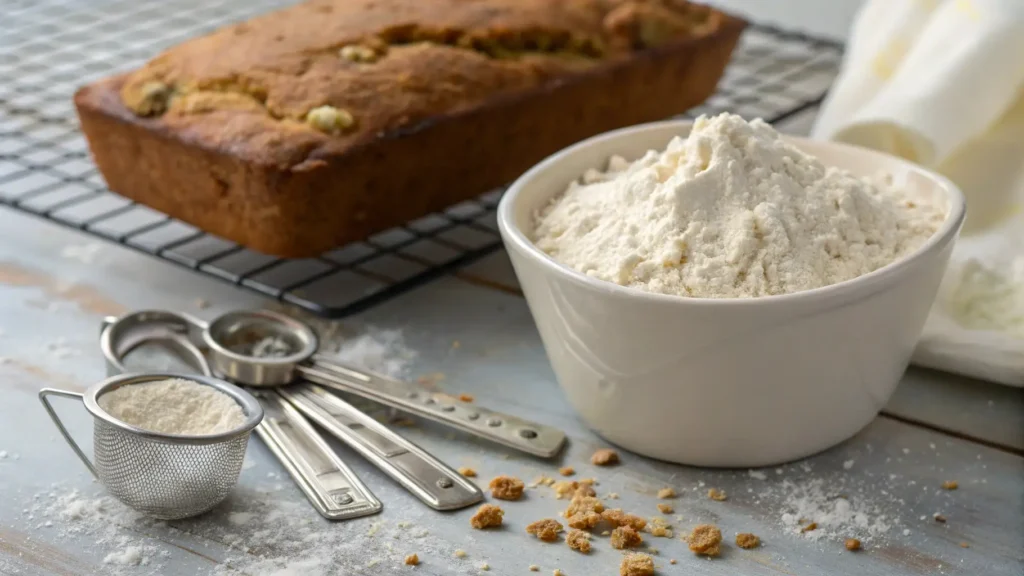
Pro tip: I always measure flour by spooning it into my measuring cup, then leveling it with a knife. Scooping directly from the container compacts the flour, giving you up to 25% more than the recipe calls for!
2. You’re Mixing Like You’re Making a Smoothie
It’s tempting to beat the batter until it’s perfectly smooth, but overmixing is a rookie mistake that can sabotage your bread.
Overworking the batter develops gluten (the protein in flour), resulting in a tough texture and uneven rise. Instead of light and fluffy, you’ll get dense and gummy.
Better approach: Mix just until the ingredients are combined. Those little lumps? They’re your friends. I put away my electric mixer years ago and haven’t looked back—a gentle hand with a spatula gives me better results every time.
3. Your Oven Is Lying to You
That temperature dial isn’t always telling the truth. Many home ovens run hotter or cooler than the setting indicates, which can throw off your baking game completely.
- Too hot? The outside cooks too quickly while the center remains raw
- Too cool? The bread rises slowly or unevenly, collapsing as it tries to set
My solution: I invested $10 in an oven thermometer years ago, and it’s saved countless loaves since then. Knowing your oven’s actual temperature lets you adjust accordingly.
4. You’re Rushing the Bake Time
We’ve all been there—peeking in the oven, bread looking golden and gorgeous, so you pull it out a few minutes early. Big mistake.
Underbaking is perhaps the most common cause of collapsed banana bread. That beautiful exterior might look done, but if the center hasn’t set, the structure will fail as it cools.
The test: Always, always use the toothpick test. Insert it into the deepest part of the loaf—if it comes out with wet batter, keep baking. A few moist crumbs are fine, but you should never see raw batter.
5. Your Bananas Are Too Far Gone
Those black, ultra-soft bananas might seem perfect for banana bread (and they do offer amazing flavor), but they can add too much moisture to your batter. There’s a sweet spot between “ripe enough” and “too far gone.”
Look for: Bananas with plenty of brown spots but that still maintain some structure when peeled. If they’re completely black and liquefied inside, you might need to adjust your recipe.
6. You’re Getting Impatient with Cooling
I know it’s torture waiting for that fragrant loaf to cool, but rushing this step is a surefire way to end up with a collapsed center.
Steam continues to escape as the bread cools. Without proper cooling, that moisture gets trapped inside, creating a gummy texture that can’t support itself.
Proper cooling method: Let the bread rest in the pan for 10-15 minutes, then transfer to a wire rack until completely cool. Yes, completely—at least an hour if you can resist that long!
Find out more about Banana Bread Recipe with Cake Mix.
Solutions: Building a Better Banana Bread
Perfect Your Technique
After years of trial and error, these practices have never failed me:
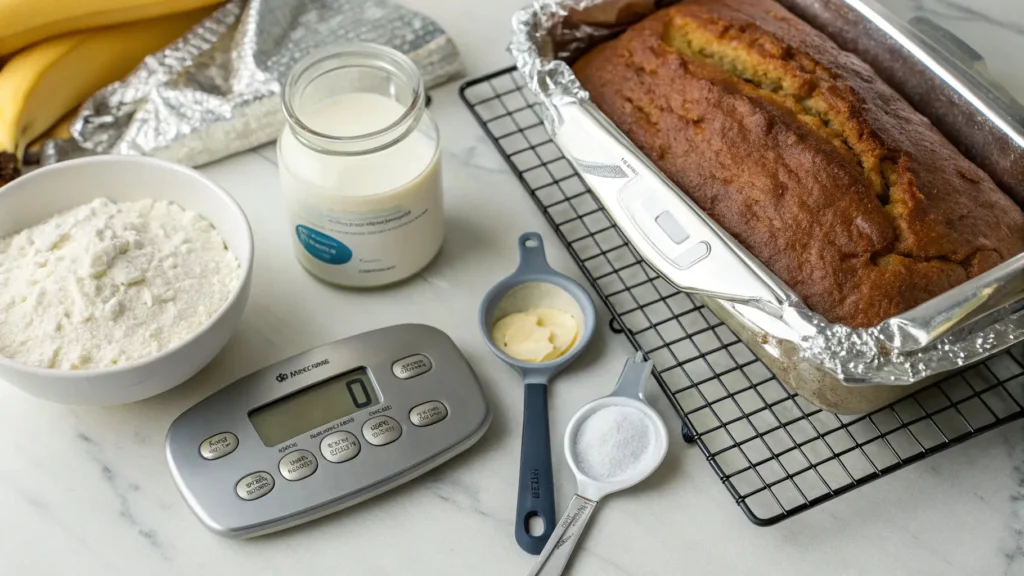
- Weigh your ingredients if possible. A kitchen scale eliminates the guesswork and gives consistent results. If you bake regularly, this $20 investment will transform your outcomes.
- Mix wet and dry ingredients separately before combining them. This reduces the mixing time needed to incorporate everything.
- Check your leavening agents for freshness. Baking soda loses potency over time—I replace mine every six months, even if it’s not empty.
- Rotate your pan halfway through baking if your oven has hot spots (most do).
- Tent your bread with foil if the top is browning too quickly but the center isn’t done.

High-Altitude Adjustments That Actually Work
Baking at elevation? The rules change dramatically above 3,500 feet. After moving to Colorado, I had to completely rethink my banana bread approach.
Here’s what works for me:
- Reduce the leavening: I use about 1/4 less baking soda or powder than sea-level recipes call for.
- Add a little extra flour: About 1-2 tablespoons per cup of flour in the recipe helps strengthen the structure.
- Increase the oven temperature by 15-25°F and reduce baking time slightly. This helps set the structure before it rises too high and collapses.
- Add a touch more liquid: The dry mountain air sucks moisture from your batter faster, so an extra tablespoon or two of liquid helps compensate.
FAQ: Your Burning Banana Bread Questions
Can I save a collapsed loaf?
Absolutely! A sunken center doesn’t mean it’s destined for the trash. My favorite rescue approach is to slice the bread into cubes, toast them lightly, and use them as the base for a killer bread pudding or trifle.
Why does my banana bread always crack on top?
That crack is actually a good sign! It means your bread is rising properly. The top sets slightly in the oven heat while the batter below continues to rise, creating that characteristic split.
How can I tell if my batter is the right consistency?
Ideal banana bread batter should be thick enough to coat the back of a spoon but still flow slowly when poured. If it’s runny like cake batter, add a tablespoon of flour. If it’s stiff like cookie dough, add a splash of milk.
Is convection baking better for banana bread?
In my experience, standard baking produces more reliable results. Convection can dry out the exterior before the center sets. If you do use convection, lower the temperature by 25°F and start checking for doneness earlier.
The Bottom Line: Balance Is Everything
After countless loaves—both triumphant and tragic—I’ve learned that perfect banana bread comes down to balance. The right proportion of wet to dry ingredients, gentle mixing, proper temperature, and adequate baking time all work together to create that heavenly texture we’re after.
Baking is both science and art, with a dash of patience thrown in. Master these principles, and you’ll never suffer the disappointment of a collapsed loaf again. Your banana bread will be the talk of the neighborhood—that is, if you’re generous enough to share it!
Happy baking, friends. May your loaves rise high and your centers stay firm!
