Golden, crispy, and irresistibly delicious, onion rings are a timeless snack loved by people of all ages. Whether enjoyed as an appetizer, a side dish, or a snack on their own, onion rings are the perfect combination of crunch and flavor. Their versatility means you can pair them with burgers, dips, or even salads for a satisfying meal.

In this guide, we’ll take you through everything you need to know about onion rings—from the best ingredients to foolproof cooking methods. Whether you’re a seasoned cook or a beginner, these tips will help you master this crispy classic.
What Are Onion Rings?
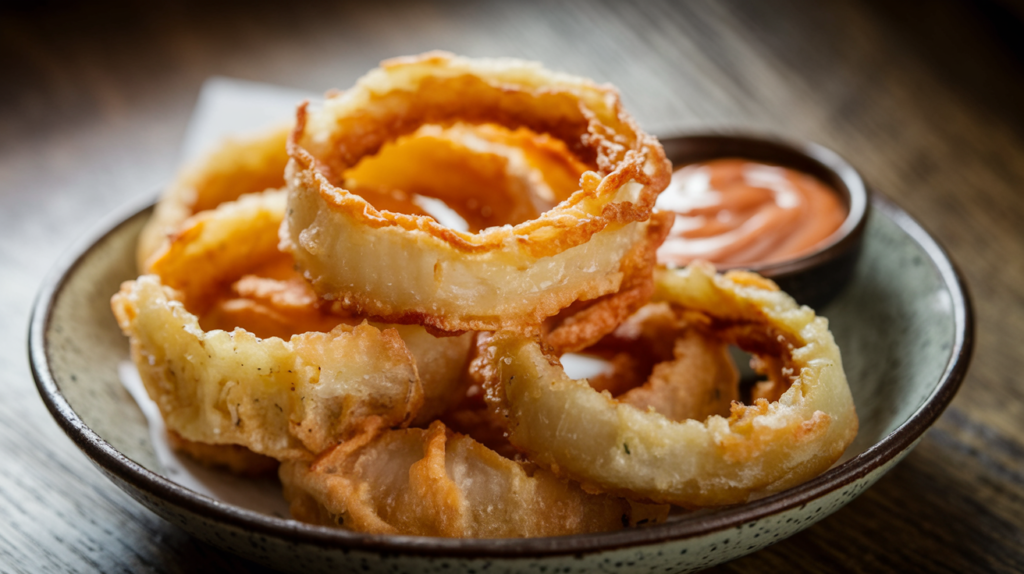
Onion rings are a popular snack and side dish made by coating onion slices in batter and frying them to crispy perfection. They are beloved for their crunchy exterior and sweet, tender onion center, making them a favorite accompaniment to burgers, sandwiches, or as a standalone treat.
A Brief History
- The origin of onion rings isn’t entirely clear, but early recipes date back to the early 20th century.
- They gained popularity in the United States through diners and fast-food restaurants, becoming a staple on menus across the country.
- Today, onion rings are enjoyed worldwide, with unique variations in batter and seasonings depending on the region.
Common Variations Around the World
- United States: Traditional onion rings are coated in a flour-based batter and deep-fried.
- Japan: Onion tempura is a lighter variation made with a thin, crispy batter.
- United Kingdom: Often served as part of pub food, they are typically paired with dipping sauces like garlic aioli or barbecue sauce.
- India: Onion bhajis are spiced fritters made with chickpea flour, offering a unique and flavorful twist.
Why People Love Onion Rings
Their combination of textures and flavors makes O.R irresistible. The crispy batter contrasts perfectly with the soft, slightly sweet onion inside, offering a satisfying bite every time.
Ingredients for Perfect Onion Rings
The secret to making the best O.R starts with selecting the right ingredients. Each component contributes to the flavor, texture, and overall success of your dish.
1. Choosing the Right Onions

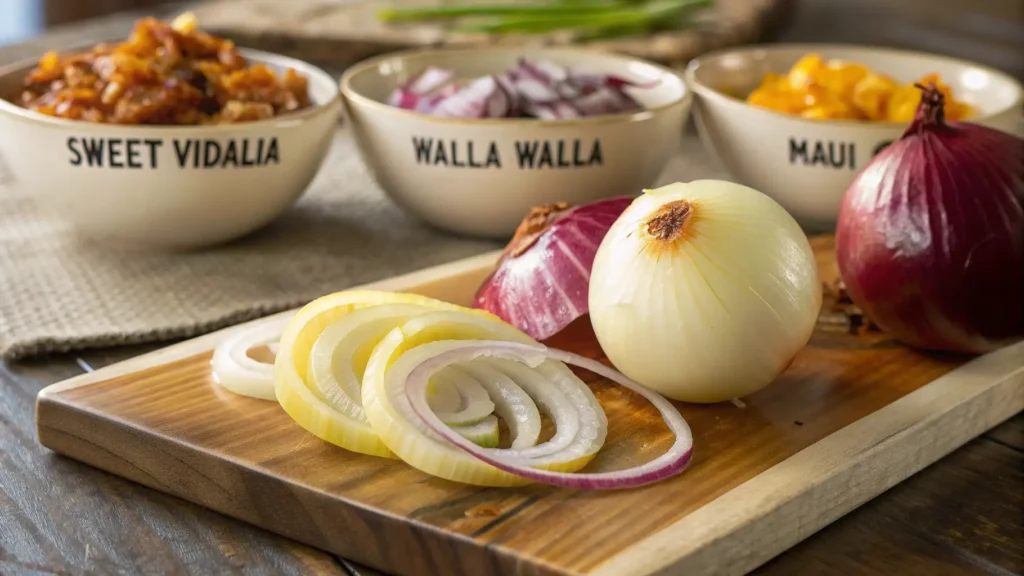
- Sweet Onions: Vidalia, Walla Walla, or Maui onions are ideal for O.R due to their mild flavor and natural sweetness.
- Yellow Onions: A versatile option with a balance of sweetness and sharpness.
- White Onions: Crisp and slightly tangy, these provide a sharper flavor.
Pro Tip: Slice the onions into uniform rings, about ¼ to ½ inch thick, for even cooking.
2. Key Batter Ingredients
- All-Purpose Flour: Forms the base of the batter, giving it structure.
- Cornstarch: Adds lightness and helps the batter crisp up beautifully.
- Seasonings: Salt, pepper, garlic powder, and paprika enhance the flavor of the batter.
- Eggs: Bind the batter and create a golden-brown finish.
- Liquid: Use milk, buttermilk, or even beer for a flavorful, airy batter.
Pro Tip: For extra crispiness, dredge the O.R in flour before dipping them in the batter.
3. Optional Seasonings and Coatings
- Breadcrumbs or Panko: Add extra crunch to the coating.
- Spices: Experiment with cayenne pepper, chili powder, or dried herbs for a kick of flavor.
- Cheese: Incorporate grated Parmesan into the batter for a savory twist.
Why Ingredients Matter
Each ingredient in the batter and coating works together to create the perfect onion ring. The right onions bring sweetness, the batter adds crunch, and seasonings enhance the overall flavor profile.
Step-by-Step Recipe for Onion Rings
Making O.R at home is surprisingly simple when you follow this step-by-step guide. From preparing the onions to frying them to perfection, here’s how to create the ultimate crispy snack.
Prepare the Onions
- Start by cutting the onions into ¼ to ½-inch thick rings. Carefully separate each layer to form individual rings.
- For a milder flavor, soak the O.R in cold water for 15–30 minutes. This optional step reduces sharpness and enhances sweetness.
- Once soaked, pat the rings dry with a paper towel. Dry rings help the batter stick more effectively.
Make the Batter
- Begin by mixing the dry ingredients: Combine 1 cup of all-purpose flour, ¼ cup of cornstarch, 1 teaspoon of salt, ½ teaspoon of pepper, and ½ teaspoon of paprika in a large bowl. For added flavor, consider including a pinch of cayenne pepper or garlic powder.
- In another bowl, whisk the wet ingredients. Blend 1 cup of milk (or buttermilk) with 1 egg until smooth. For a unique twist, try substituting some of the milk with beer.
- Gradually add the wet mixture to the dry ingredients. Stir continuously to create a smooth and thick batter without lumps.
Coat the Onion Rings
- Start by tossing the O.R in plain flour. This light coating helps the batter adhere better.
- Next, dip the floured rings into the batter, ensuring each ring is evenly coated.
- For an extra-crispy texture, press the battered rings into breadcrumbs or panko before frying. This optional step adds another layer of crunch.
Fry to Perfection
- Heat 2–3 inches of vegetable oil in a deep skillet or pot to 350°F (175°C). Use a thermometer to maintain the ideal frying temperature.
- Carefully place a few O.R into the hot oil at a time. Overcrowding lowers the oil temperature and affects crispiness.
- Fry the rings for 2–3 minutes on each side, or until they turn a golden brown.
- Remove them from the oil with a slotted spoon and drain them on a paper towel-lined plate.
Serve Hot
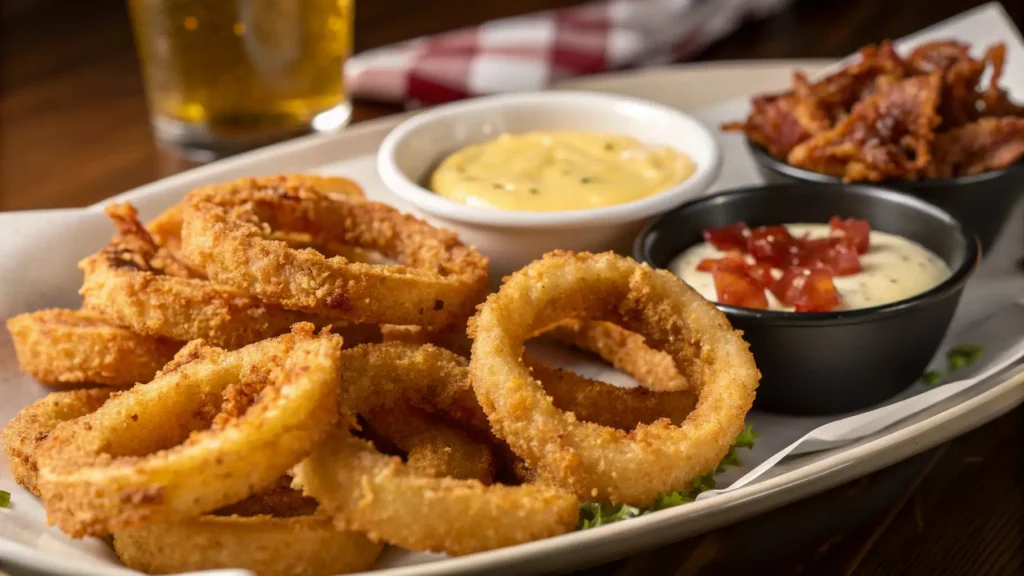
- While the rings are still warm, sprinkle them with a little salt to enhance the flavor. Serve immediately with your favorite dipping sauces, such as ranch, spicy mayo, or barbecue sauce.
- Enjoy your crispy, golden O.R as a snack or a side dish for your favorite meals!
Why This Recipe Works
This method ensures that the O.R are crispy on the outside while the onions inside remain tender and sweet. The optional breadcrumb coating adds extra crunch, making them even more irresistible.
Variations and Serving Ideas

Onion rings are incredibly versatile, and with a few creative adjustments, you can customize them to suit different preferences and dietary needs. Here are some exciting variations and serving suggestions to try at home.
1. Baked Onion Rings
- Why It Works: Baking is a healthier alternative to deep frying while still delivering crispy results.
- How to Make:
- Preheat your oven to 425°F (220°C).
- Coat the O.R in batter and breadcrumbs, then place them on a greased baking sheet.
- Spray with cooking oil and bake for 15–20 minutes, flipping halfway through, until golden brown.
2. Gluten-Free Onion Rings
- Why It Works: Gluten-free flours and coatings allow everyone to enjoy this classic treat.
- How to Make:
- Replace all-purpose flour with gluten-free flour or chickpea flour.
- Use cornstarch or rice flour for the dredging step.
3. Vegan Onion Rings
- Why It Works: Substituting plant-based ingredients makes onion rings accessible to vegan diets.
- How to Make:
- Replace milk with almond milk or soy milk.
- Use flaxseed meal mixed with water as an egg substitute.
4. Unique Flavors and Add-Ins
- Cheese-Stuffed Rings: Layer shredded mozzarella or cheddar between two onion slices, coat in batter, and fry for a gooey center.
- Spicy Onion Rings: Add cayenne pepper or chili powder to the batter for a fiery kick.
- Sweet Onion Rings: Dust freshly fried rings with powdered sugar or cinnamon sugar for a dessert-like twist.
5. Serving Suggestions
- Dipping Sauces:
- Classic ketchup or barbecue sauce.
- Ranch dressing or garlic aioli for a creamy option.
- Spicy mayo or sriracha for heat lovers.
- Pairings:
- Serve alongside burgers, sliders, or sandwiches.
- Add them to a charcuterie board for a crunchy snack.
Why Variations Matter
Experimenting with different flavors and preparation methods keeps onion rings exciting and ensures there’s something for everyone. Whether baked, fried, or gluten-free, O.R can be tailored to any occasion.
Tips for Success
Mastering onion rings requires attention to detail, from preparation to serving. These practical tips will help you achieve perfectly crispy and flavorful onion rings every time.
1. Keep the Batter Cold
- Why It Works: Cold batter sticks better to onions and creates a crunchier coating when fried.
- How to Do It: Chill the batter in the refrigerator for 10–15 minutes before dipping the onion rings.
2. Use the Right Oil for Frying
- Why It Works: High smoke-point oils ensure even frying without burning the coating.
- Best Options: Canola oil, vegetable oil, or peanut oil are ideal for frying onion rings.
3. Maintain Oil Temperature
- Why It Works: Consistent heat (around 350°F/175°C) prevents soggy rings and ensures even cooking.
- How to Do It: Use a thermometer to monitor the oil temperature, and avoid overcrowding the frying pot, which can lower the heat.
4. Drain Properly
- Why It Works: Draining removes excess oil, keeping the rings crispy and light.
- How to Do It: Place fried rings on a paper towel-lined plate or a wire rack immediately after frying. Sprinkle with salt while they’re hot.
5. Serve Immediately
- Why It Works: Onion rings are best enjoyed fresh out of the fryer when their texture is at its peak.
- How to Do It: Prepare dipping sauces or accompaniments in advance so you can serve the rings hot and crispy.
6. Storing and Reheating
- Why It Matters: While fresh onion rings are ideal, proper storage can preserve their quality.
- How to Store: Let onion rings cool completely, then place them in an airtight container lined with paper towels to absorb moisture. Refrigerate for up to 2 days.
- How to Reheat: Bake in a preheated oven at 375°F (190°C) for 5–7 minutes to restore crispiness. Avoid microwaving, which makes them soggy.
Why These Tips Matter
By following these tips, you’ll consistently achieve golden, crunchy, and flavorful onion rings. Whether for a quick snack or a party dish, your onion rings will be the highlight of the table.
FAQs About Onion Rings
1. Can I make onion rings without a deep fryer?
Yes, you can easily make onion rings without a deep fryer by using:
- A Large Pot or Skillet: Heat 2–3 inches of oil in a deep pot or wide skillet. Use a thermometer to maintain the correct frying temperature.
- Air Fryer: Coat the onion rings in batter and breadcrumbs, then spray with oil. Air fry at 400°F (200°C) for 8–10 minutes, flipping halfway through.
2. How do I prevent onion rings from getting soggy?
To keep onion rings crispy:
- Fry in small batches to avoid lowering the oil temperature.
- Let them drain on a wire rack instead of piling them on a plate.
- Serve immediately after frying for the best texture.
3. What’s the best oil for frying onion rings?
Use oils with a high smoke point, such as:
- Canola Oil: Affordable and neutral in flavor.
- Vegetable Oil: Versatile and widely available.
- Peanut Oil: Adds a slight nuttiness and withstands high heat well.
4. Can I freeze onion rings?
Yes, onion rings can be frozen before or after frying:
- Before Frying: Coat the rings in batter, place them on a parchment-lined tray, and freeze until solid. Transfer to a freezer-safe bag and fry directly from frozen.
- After Frying: Allow the rings to cool completely, then freeze in an airtight container. Reheat in the oven for crispness.
5. How do I make the batter stick to the onions?
- Dry the Onions: Pat the onion slices dry with a paper towel before coating them in flour.
- Flour Dredge: Toss the rings in flour before dipping them into the batter.
- Cold Batter: Ensure the batter is cold, as it adheres better to the onions.
6. Are onion rings gluten-free?
Traditional onion rings are not gluten-free due to the use of wheat flour. However, you can make them gluten-free by substituting:
- Rice Flour or Chickpea Flour: For a light and crispy texture.
- Gluten-Free Breadcrumbs: For extra crunch in the coating.
Why These FAQs Matter
These answers address common questions and challenges, ensuring that your onion rings turn out perfectly every time. From frying techniques to storage tips, you now have everything you need for crispy, delicious results.
Onion rings are a timeless treat, loved for their crispy exterior and tender, sweet interior. By following the tips and techniques outlined in this guide, you can create the perfect batch of O.R, whether deep-fried, baked, or made in an air fryer. From selecting the right onions to mastering the batter and cooking process, every step matters in achieving that golden, crunchy perfection.
Whether you enjoy them as a snack, appetizer, or side dish, onion rings are incredibly versatile and can be customized to suit your preferences. Pair them with classic dips like ketchup or ranch, or experiment with bold flavors like spicy mayo or barbecue sauce for a unique twist.
Ready to elevate your onion rings game? Pair them with a hearty dish like Chicken Poblano Soup or a comforting dessert like Apple Spice Cake for a complete, satisfying meal.
With the right techniques and a touch of creativity, your homemade onion rings will become a favorite for any occasion. Happy frying!
